10 pumpkin crafts for preschoolers, each with a picture and simple steps. Easy ideas for ages 3 to 5 using paper, paint, and glue.
October is pumpkin month, from the patch trip to the one going soft on the porch. Here are 10 crafts with pumpkins for preschool and for home, each with a picture, the supplies, and the steps, from a painted mini pumpkin to a paper plate jack-o-lantern.
A three-year-old paints a real mini pumpkin with a squeeze bottle, and it sits on the windowsill until November. A five-year-old cuts the jack-o'-lantern face and winds the yarn pumpkin alone. Halloween week and the week after.
Start here: three pumpkin crafts that always work
10 pumpkin crafts for preschoolers, with pictures
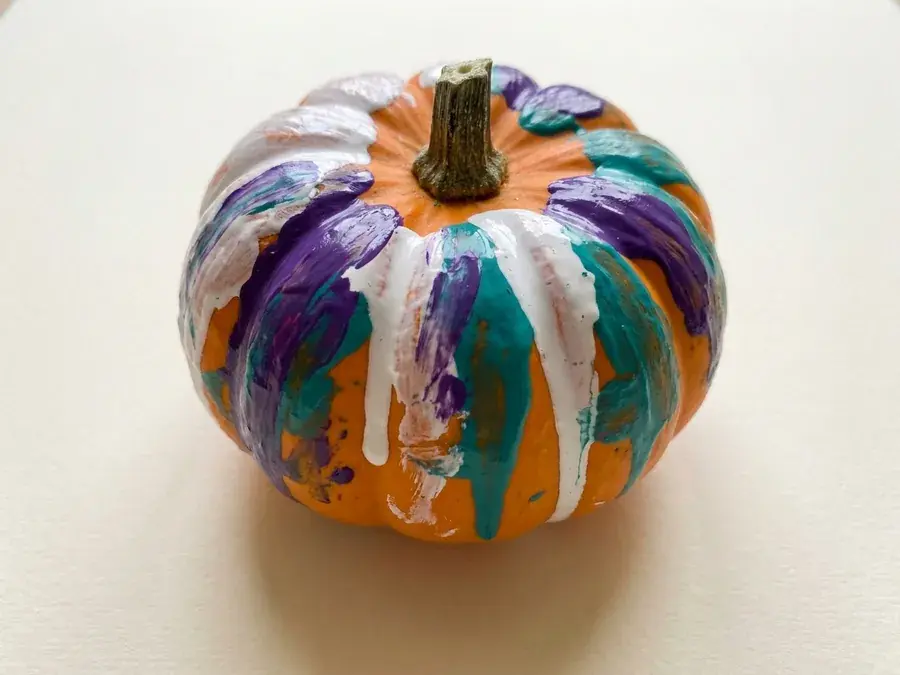
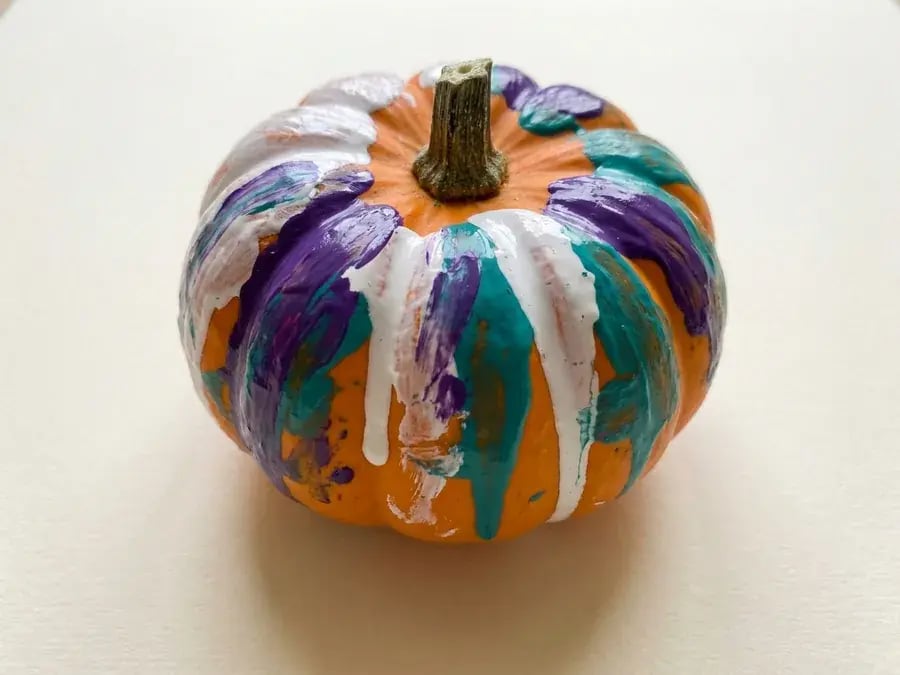
1. Painted mini pumpkin
The child paints a real mini pumpkin with brushes, squeeze bottles or dot stickers and tape.
You need: 1 real mini pumpkin, paint, brush
How to make it
- Wash and dry the mini pumpkin.
- Your child paints thick patches and stripes over the top and sides.
- Leave the stem bare.
- Let it dry before touching.
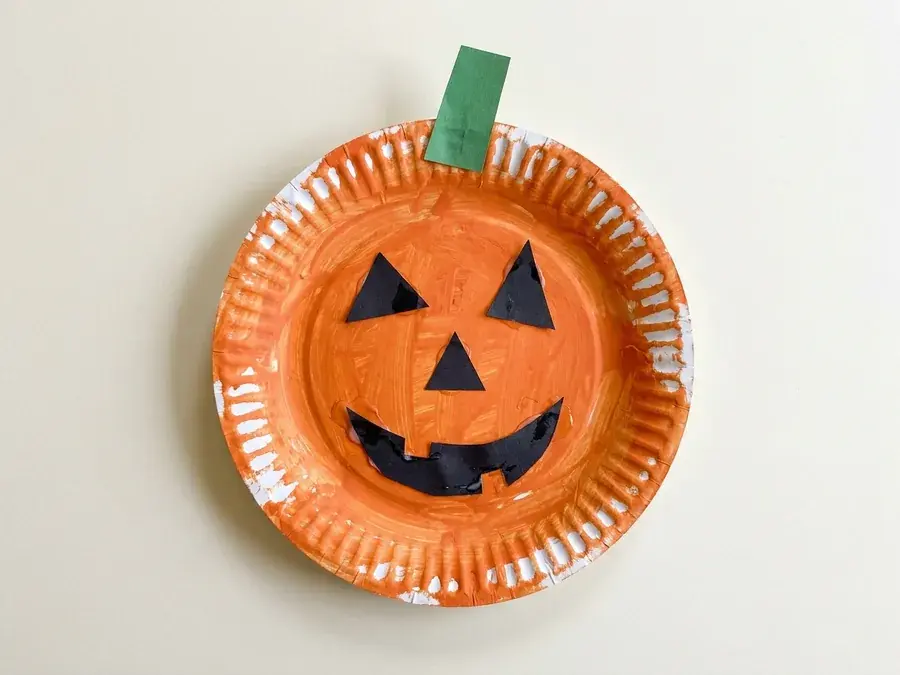
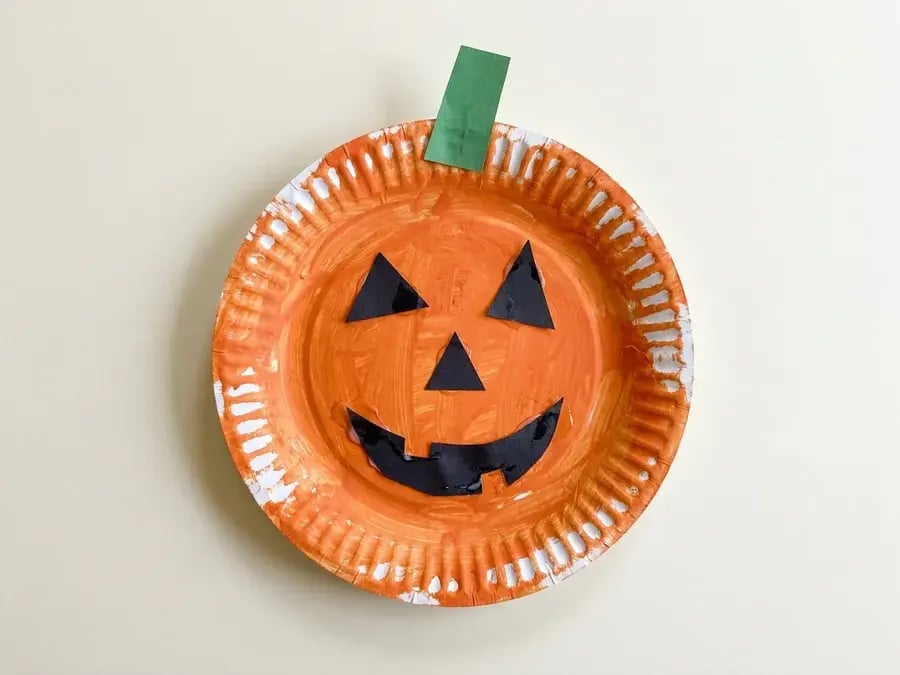
2. Paper plate jack-o-lantern
The child paints a plate orange, adds a green stem and glues on black shapes for the face.
You need: 1 white paper plate, orange poster paint, green paper, black paper, glue
How to make it
- Your child paints the plate orange. Let it dry.
- You cut a small green rectangle. Glue it on the top rim as a stem.
- Cut 3 black triangles and a crescent. Glue 2 triangles in the upper half as eyes and 1 in the middle as a nose.
- Glue the crescent in the lower half as a smiling mouth.
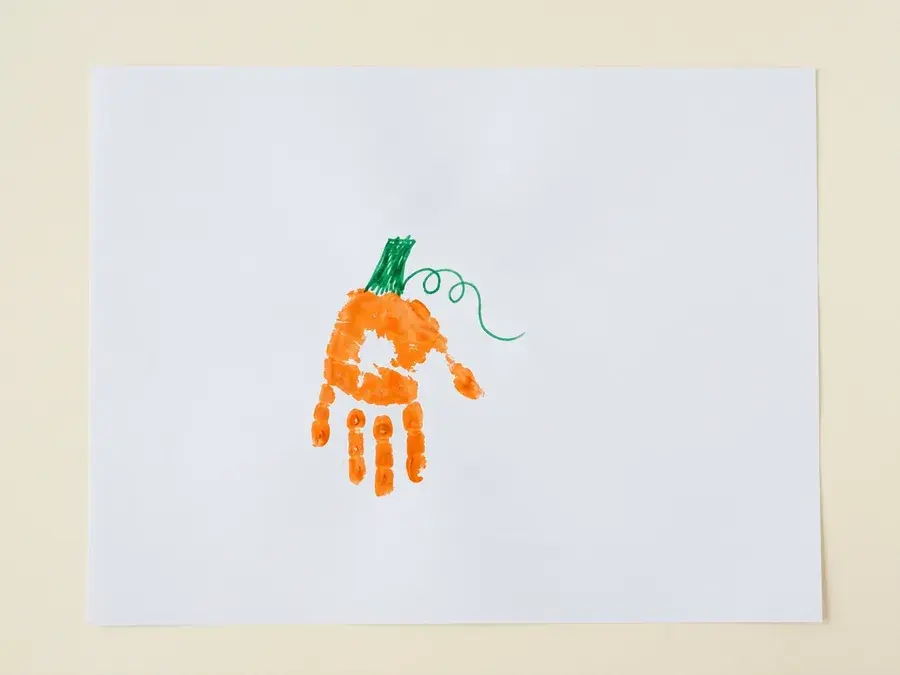
3. Handprint pumpkin
An orange handprint or fist print becomes a pumpkin with a stem and vine added.
You need: 1 sheet of white paper, orange paint, green marker
How to make it
- Paint your child's hand orange. Press it in the middle of the sheet with the fingers together pointing down and the palm at the top.
- Let it dry.
- Draw a short thick green stem coming up out of the palm.
- Add a curly vine off the stem.
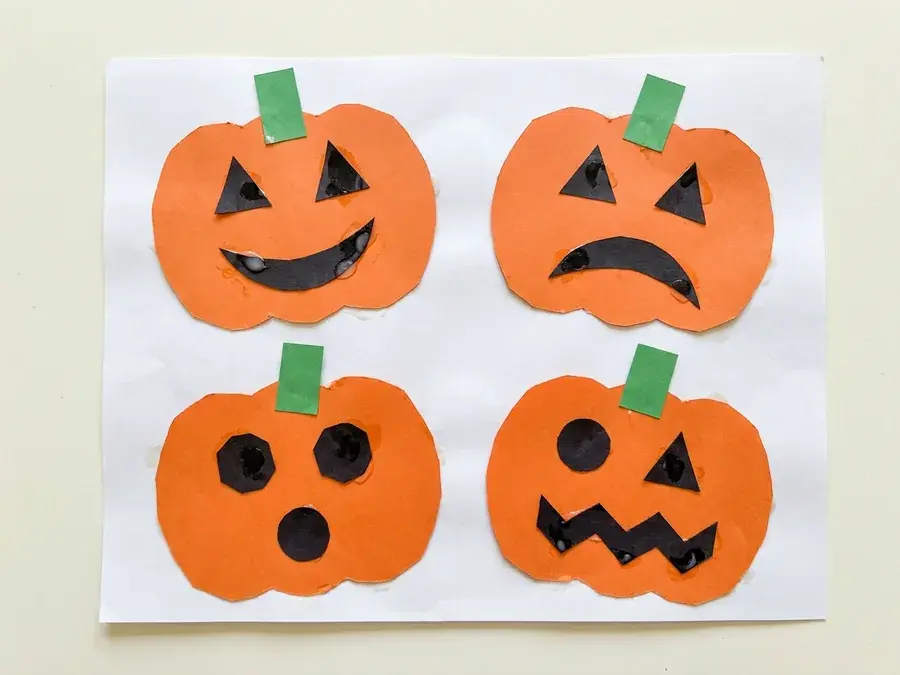
4. Pumpkin feelings faces
The child gives paper pumpkins happy, sad, surprised and silly faces with shapes or markers.
You need: orange paper, green paper, black construction paper, 1 sheet of white paper, glue stick
How to make it
- You cut 4 orange pumpkins and 4 small green stems. Your child glues the pumpkins on the white sheet in two rows, each with a stem on top.
- Cut black triangles, circles and mouth shapes.
- Your child glues a face on each pumpkin: a mouth turned up for happy, turned down for sad, a round mouth for surprised and a zigzag mouth for silly.
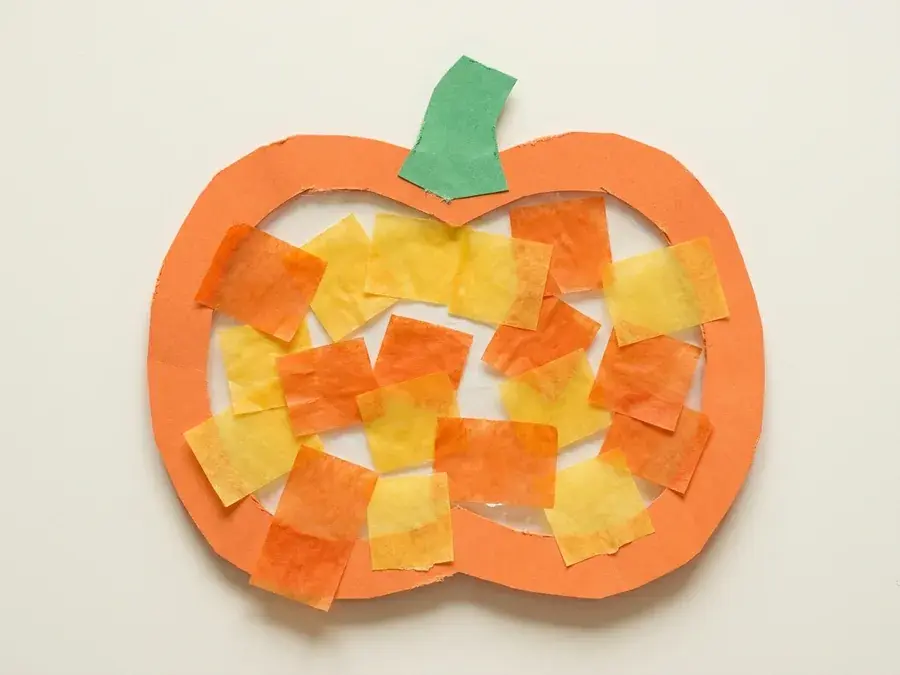
5. Pumpkin suncatcher
The child sticks orange and yellow tissue squares onto contact paper inside a pumpkin frame.
You need: orange paper, green paper, clear contact paper, orange and yellow tissue paper
How to make it
- You cut an orange pumpkin frame with the middle cut out.
- Stick it on a sheet of clear contact paper, sticky side up.
- Your child presses tissue squares onto the sticky middle until it is mostly covered.
- Cut a green stem and stick it on the top of the frame.
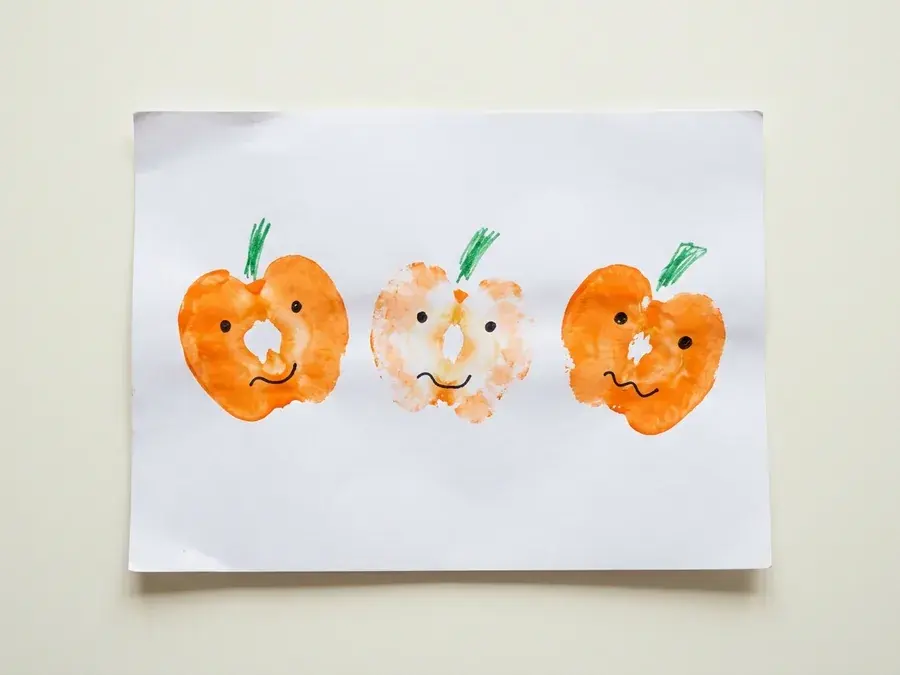
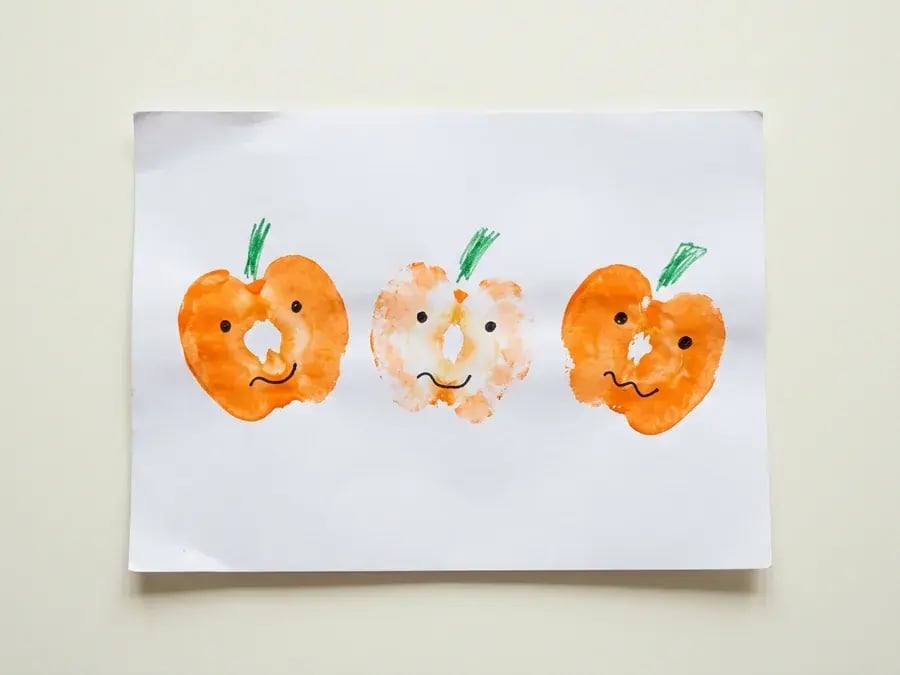
6. Apple stamped pumpkins
The child stamps half an apple in orange paint to make pumpkins, then adds stems and faces.
You need: 1 sheet of white paper, 1 apple, orange paint, green marker, black marker
How to make it
- You cut the apple in half.
- Your child dips the apple half in orange paint and presses prints in a row.
- When dry, draw a short green stem on top of each print.
- Draw 2 dot eyes and a curved smile on each with the black marker.

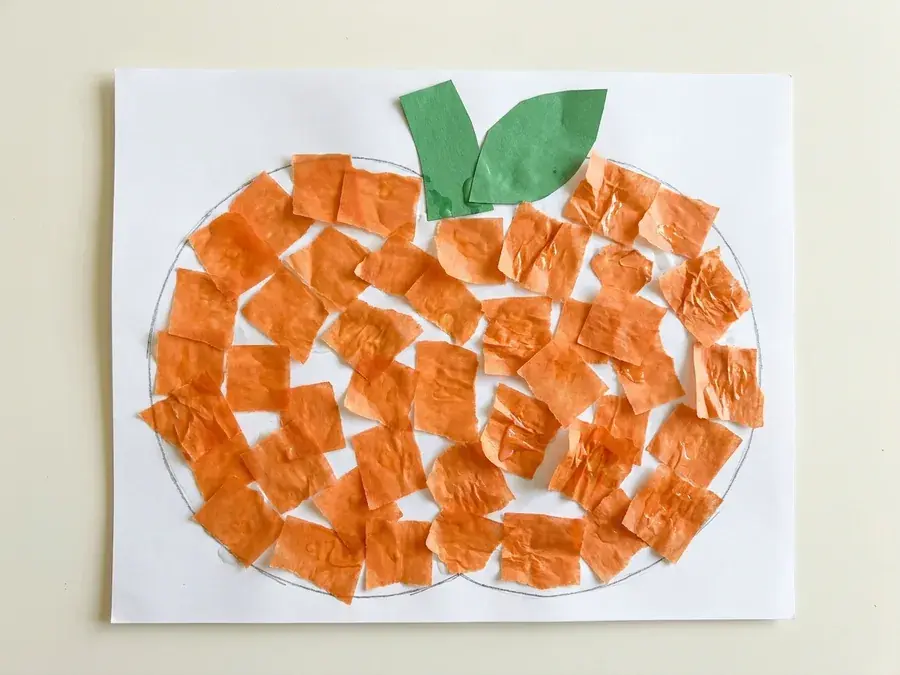
7. Tissue paper pumpkin
The child scrunches orange tissue paper squares and glues them over a pumpkin outline, then adds a green stem.
You need: 1 sheet of white paper, orange tissue paper, green paper, glue
How to make it
- You draw a big round pumpkin outline on the paper.
- Your child tears the orange tissue into small pieces and crumples each one.
- Glue the pieces inside the outline, overlapping, until it is covered.
- Cut a green stem and a leaf and glue them at the top.
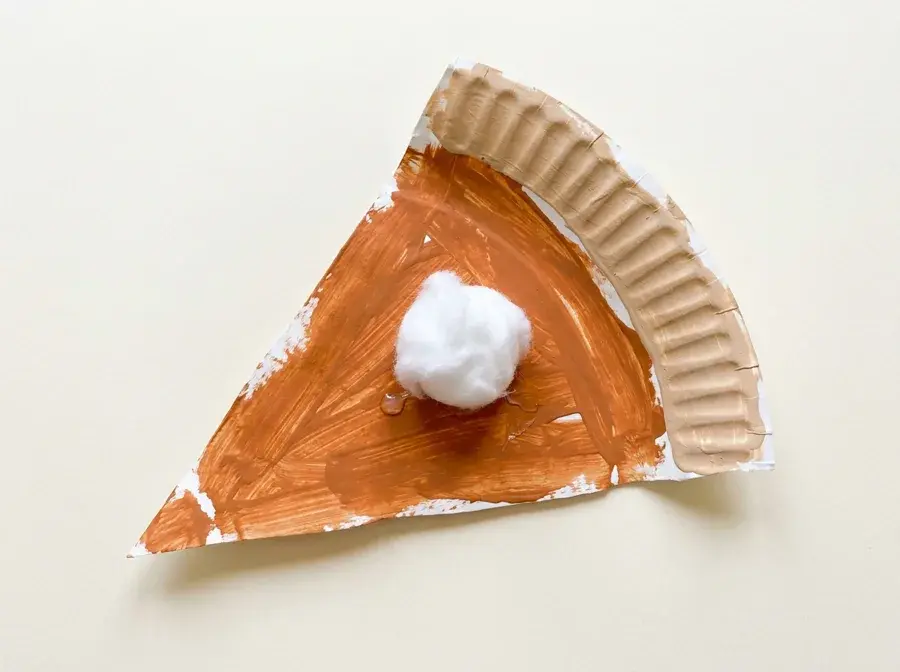
8. Pumpkin pie paper plate
The child paints a plate wedge orange-brown, adds a crust edge and glues a cotton ball on top as cream.
You need: 1 paper plate, orange-brown paint, light tan paint, 1 cotton ball, glue
How to make it
- You cut a quarter wedge from the plate like a pie slice.
- Your child paints the flat part orange-brown as filling.
- Paint the ridged rim at the wide end light tan as crust. Let it dry.
- Glue the cotton ball in the middle of the slice as whipped cream.
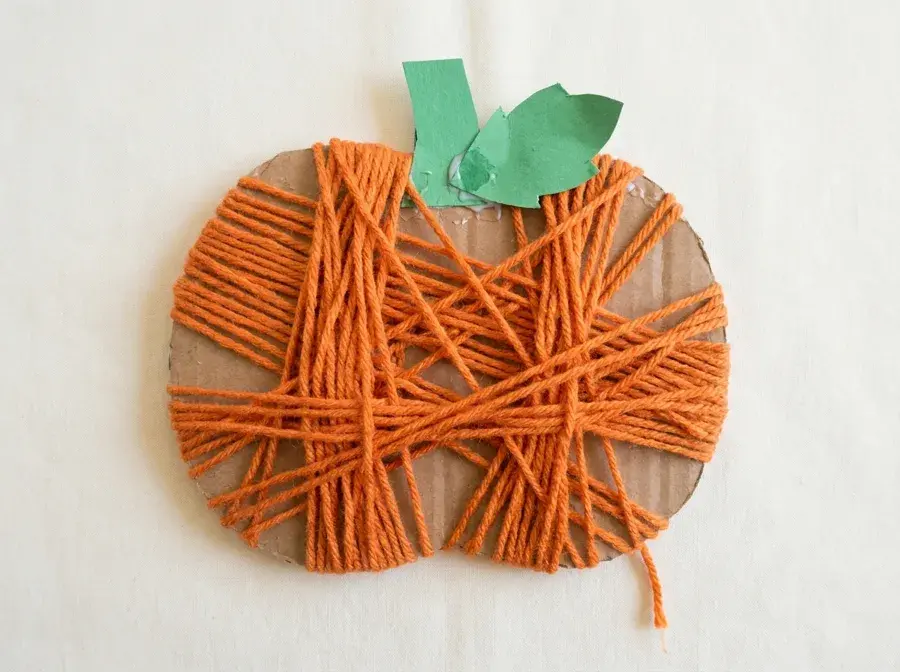
9. Yarn wrapped pumpkin
The child winds orange yarn round and round a cardboard pumpkin shape.
You need: corrugated cardboard, orange yarn, green paper, glue
How to make it
- You cut a round pumpkin from cardboard. Tape the end of the yarn to the back.
- Your child winds the orange yarn around and around in all directions until the cardboard is mostly covered.
- Tuck the end under the wraps.
- Cut a green stem and leaf and glue them at the top.
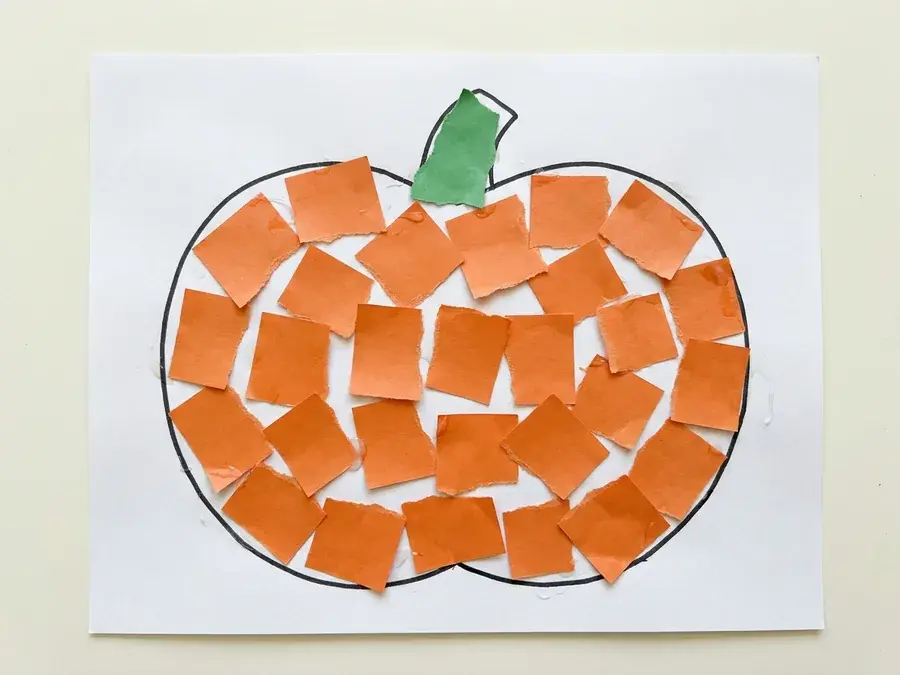
10. Torn paper pumpkin
The child tears orange paper and fills a pumpkin outline mosaic-style.
You need: 1 sheet of white paper, black marker, orange paper, green paper, glue stick
How to make it
- You draw a big pumpkin outline with a short stem in black marker.
- Your child tears orange paper into small pieces.
- Glue the pieces inside the outline like a mosaic.
- Tear a green piece and glue it on the stem.
Nothing matches that filter. Clear it and try again.
Pumpkin crafts for toddlers: the 3 a young three can do
These 3 need no exact cutting and no small pieces, so a young three can do most of it alone: Painted mini pumpkin, Apple stamped pumpkins, Torn paper pumpkin.
Pumpkin crafts in October with a 3 year old
Orange paint stains, so an old T-shirt and a plastic cloth come first. Half an apple in orange paint makes a pumpkin print in one press, which is the least mess on the page.
A three year old can stamp, tear, scrunch tissue and paint a real mini pumpkin with a brush or dot stickers. Cutting the black face shapes, the pumpkin outline and the contact paper frame is your part.
The painted mini pumpkin goes on the porch step. The suncatcher goes in a window. The handprint pumpkin is the keepsake, so write the name and the year on it.
Make the pumpkin feelings faces the week you are talking about happy, sad and surprised, and the jack-o-lantern the week before Halloween so it can be on the door in time.
What you need for pumpkin crafts
Most of these use the same handful of supplies: green paper, white paper, glue, orange paper, orange paint, green marker, glue stick, black marker. Everything else is named on the craft it belongs to.
Free · 30 questions · about 4 minutes Before you go: see where your child is for kindergarten A report with every area at a glance, what to focus on first, and things to do at home. Get my child's free report →More crafts for preschoolers
- Halloween crafts for preschoolers
- Fall crafts for preschoolers
- October crafts for preschoolers
- Crafts for 3 year olds
- Letter P crafts for preschoolers
- November crafts for preschoolers
- Crafts for 4 year olds
- Thanksgiving crafts for preschoolers
- All crafts for preschoolers, by theme, holiday and letter